Core Installation Process for LED Display Mounts: Site Survey → Material Preparation → Pre-assembly → On-site Fixing → Calibration → Anti-corrosion Treatment → Final Acceptance. Throughout the entire process, strict control is maintained over horizontal/vertical alignment and load-bearing safety.
I. Pre-Installation Preparation
Site Survey
Load-bearing Capacity: Wall/floor load-bearing capacity must be ≥ 1.2 times the total weight of the display screen; ≥ 50 kg/m² for indoor installations, and ≥ 100 kg/m² for outdoor installations.
Environmental Conditions: For outdoor installations, wind resistance must be ≥ Grade 12, and the enclosure must meet IP65 waterproofing standards; for indoor installations, a maintenance access aisle of ≥ 60 cm must be reserved.
Measurements: Use a laser level to establish reference lines and mark fixing points; the allowable error margin is ≤ 2 mm.
Materials and Tools
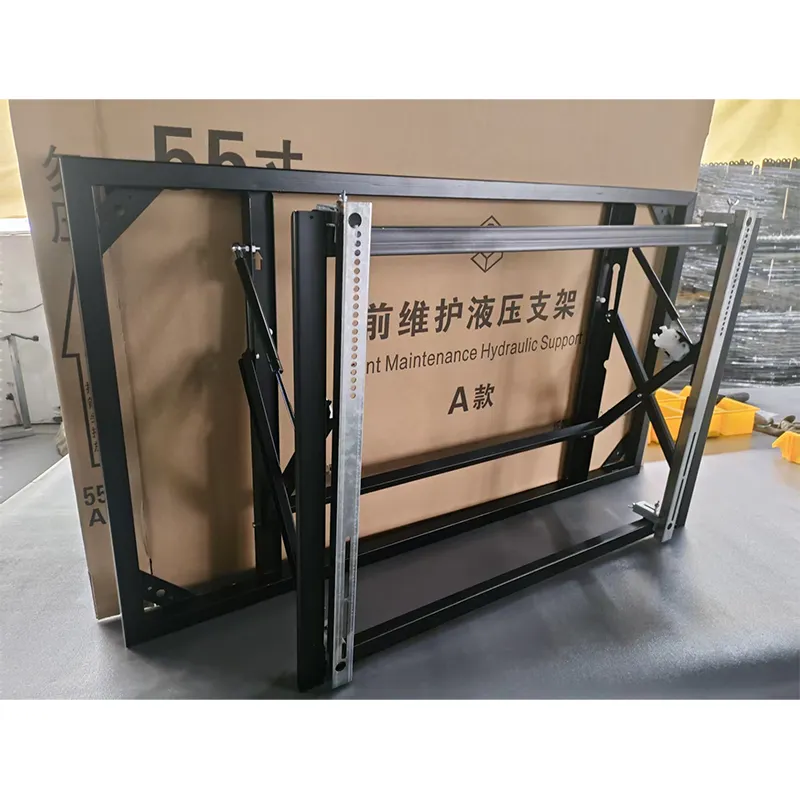
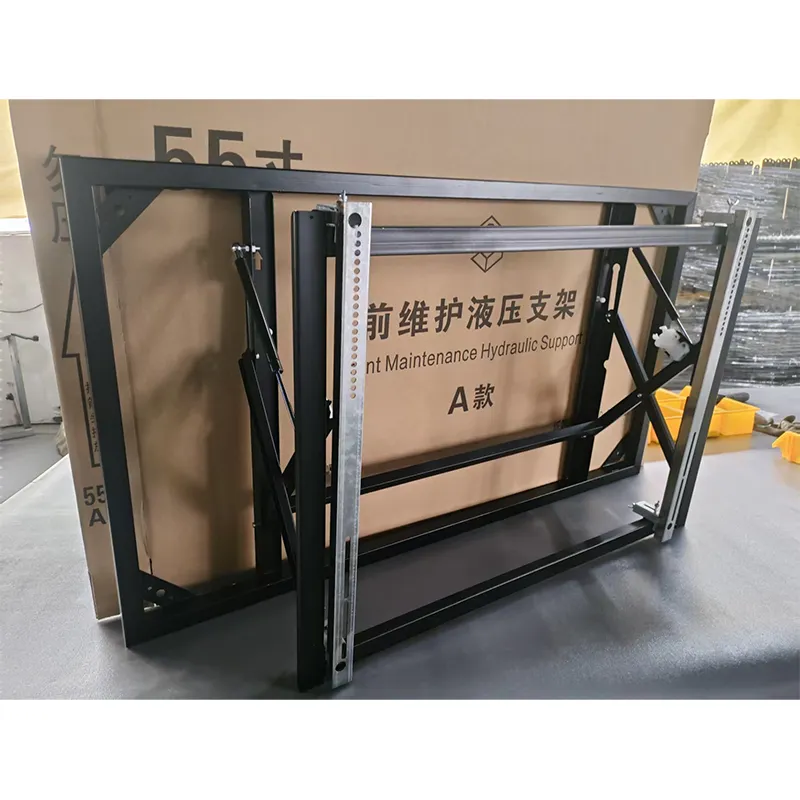
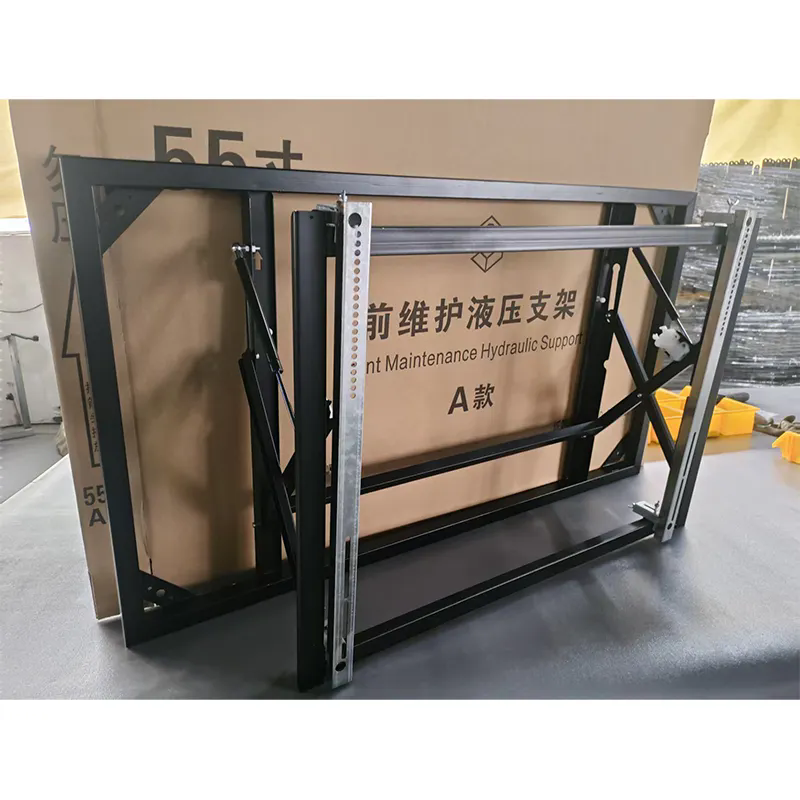
Mounting Structure: Hot-dip galvanized steel or stainless steel for outdoor use; aluminum alloy for indoor use. Components include main beams, secondary beams, angle brackets, and high-strength bolts (Grade 8.8).
Cut square tubes/angle steel according to the design drawings; weld the framework (full-penetration welding required, with weld seams ≥ 3 mm). After welding, grind the seams smooth and apply anti-rust paint.
Perform a ground-level pre-assembly to check for levelness (horizontal error ≤ 1 mm/m), verify dimensions, and mark the locations for mounting holes.
II. On-site Installation (Method-Specific)
Wall-Mounted Style (Indoor / Small-Scale Outdoor)
Wall Drilling: Drill holes to a depth of ≥ the length of the expansion bolt plus 10 mm; ensure hole spacing matches the mounting bracket's layout.
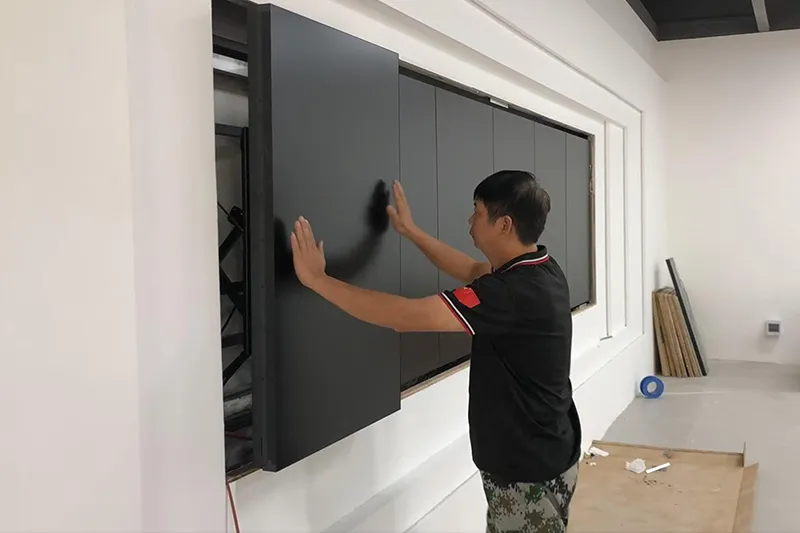
Bracket Fixing: Insert M10–M16 expansion bolts into the drilled holes; position the mounting bracket against the wall and loosely secure it using nuts for initial fixing.
Fine-Tuning and Calibration: Use a spirit level to verify horizontal alignment (error ≤ 3 mm/m) and vertical alignment (error ≤ 2 mm/m), making fine adjustments using shims/washers as needed; the diagonal measurement error must be ≤ 3 mm.
Final Tightening: Use a torque wrench to tighten the bolts to the specified design torque value (approximately 120 N·m) to ensure a secure, vibration-resistant connection.
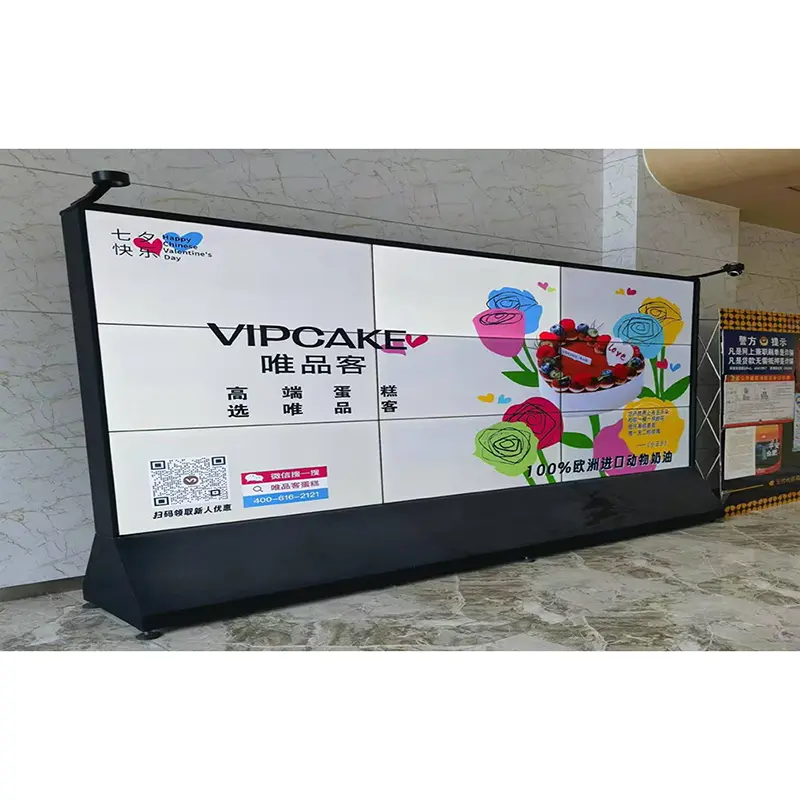
Foundation Construction: Pour a reinforced concrete foundation (Grade C30) with a minimum depth of 1.5 meters; embed steel plates or anchor bolts into the concrete during pouring.
Column Installation: Columns are welded to embedded plates or connected via high-strength bolts; vertical alignment is verified using a theodolite (tolerance: ≤ H/1000 and ≤ 15 mm).
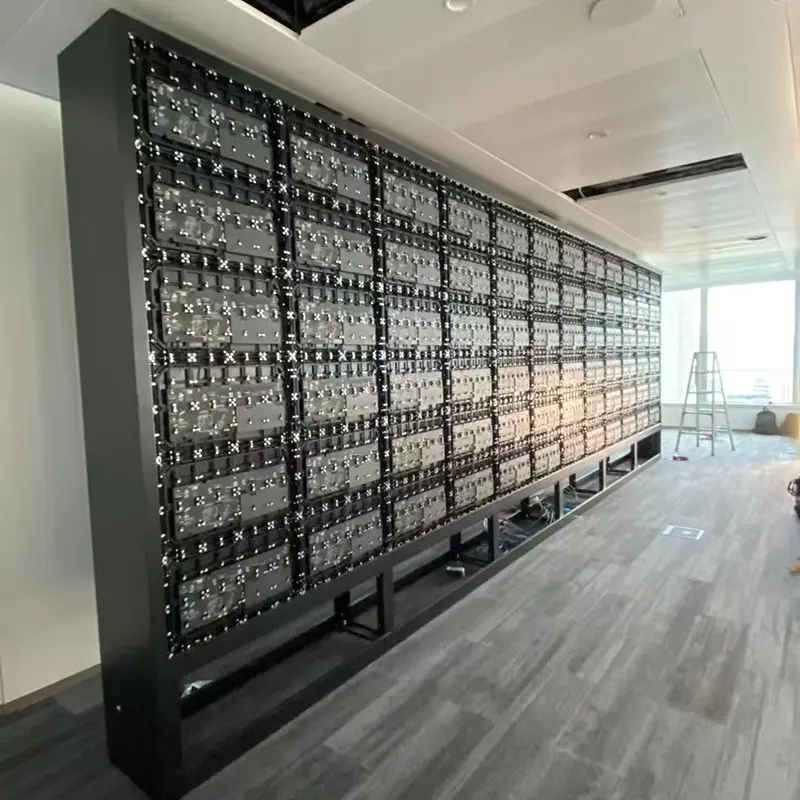
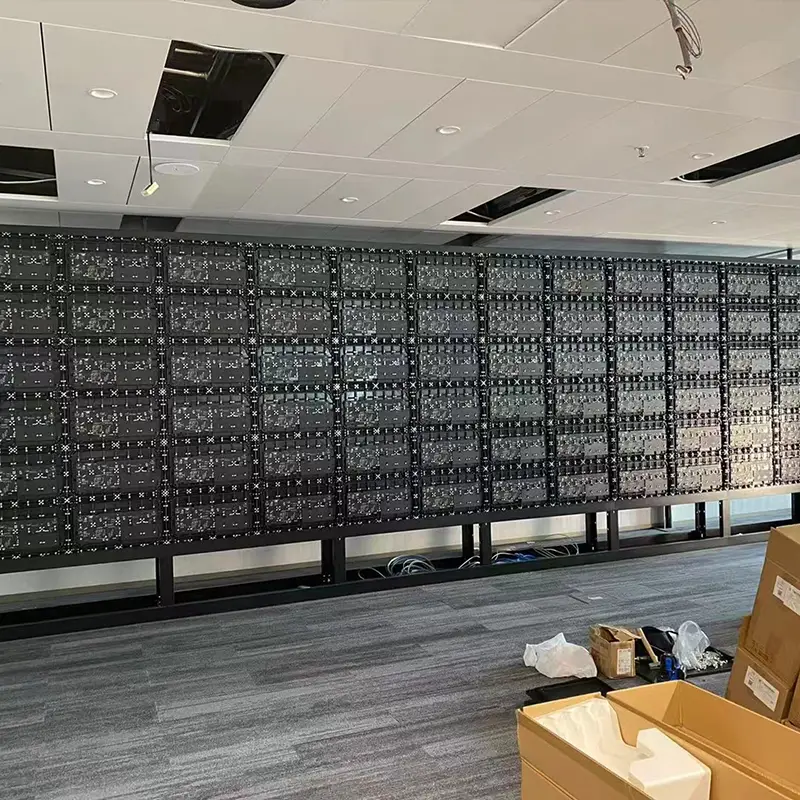
Beams and Brackets: Beams are secured via welding or bolting; main and secondary joists are assembled, and diagonal bracing is installed for reinforcement.
Secondary Grouting: Fine-aggregate concrete is poured at the column bases to a minimum thickness of 50 mm, followed by a curing period of at least 7 days.
Suspended System (Indoor Overhead)
Ceiling Load-Bearing Capacity: Verify that the load-bearing capacity of the ceiling beams is at least 1.5 times the total load; install an intermediate steel transfer layer if necessary.
Suspension Rod Fixing: Suspension rods are secured using expansion bolts, spaced at intervals of no more than 1.2 meters, with their lower ends connected to the main joists.
Bracket Hoisting: Brackets are hoisted into position using a crane or manual chain hoist; they are then leveled, aligned vertically, and secured with bolts.
We use cookies to offer you a better browsing experience, analyze site traffic and personalize content. By using this site, you agree to our use of cookies.Privacy Policy